Thursday, June 2, 2016

Masculine Wetlands - Ocean OR Lake Scene??

This sponged beach scene is not my original idea, but I've seen so many of these type of cards using the Wetlands stamp set, that I don't know who to give credit to! :)

(click on photos to view larger images)

I started by masking off the top and bottom of front panel with hand-torn scrap papers. I started sponging the inks from each torn edge toward the center, where they blended together just a little. Then I masked off a straight edge just above all the 'sand' color to make a water horizon line, using the same lighter blue in several layers. I then sponged in the darker blue at the top. With the bottom mask in place, I stamped the tall grasses, before removing the mask to stamp the sentiment. Last of all. I stamped the birds stomping around in the shallows! Then I attached the card front to a green pearlescent card base.

I was going for an ocean meets sky horizon, but with the much darker blue and the way I tore my top mask, it looks more like a misty lake with mountains off in the distance! I like how it turned out.  
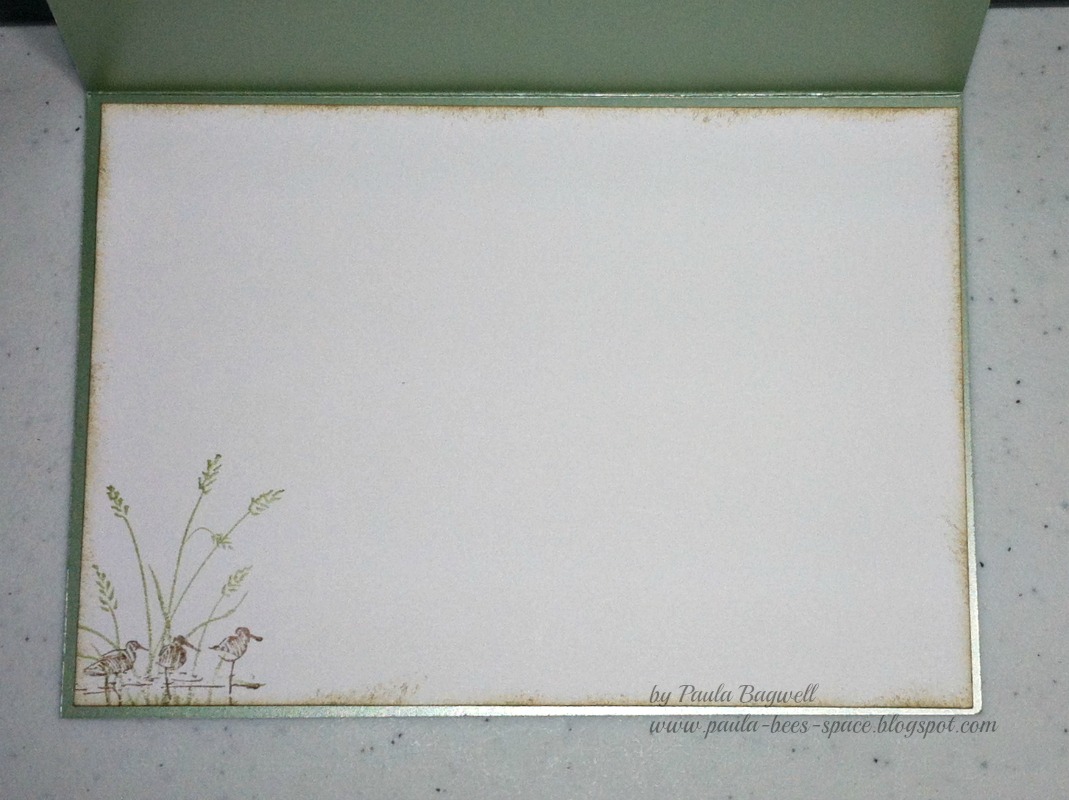


On the inside, I stamped-off twice (3rd generation) for the lighter image, inked around the edges and left the rest blank for a personal note.


Supplies:
Stamp set - Stampin' Up! Wetlands
Ink - CTMH Crystal Blue, Desert Sand, Olive, Outdoor Denim, Black
CTMH card stock - White Daisy
ScorTape
sponges


What do you think? Ocean with sky or lake with mountains?


Friday, May 27, 2016

What I Love 3-Step Floral Thank You

I just love this "What I Love" stamp set from Stampin' Up! I made a set of thank you notes out of some old card bases that were slick and a bright pearlescent red!


(click on photos to view larger images)


The 3-step stamping was fun to do, and it gives the look that the flowers were hand-colored and shaded.... but so much easier! I inked around the edges of both the front and inside panels in desert sand before attaching them to the card base.


I stamped-off (2nd generation stamping) before stamping the image inside... but I should have done it one more time to get the image even lighter. The rest is just left blank to write a personal note.

Such a super easy card to make. I think this stamp will be a fave for a long time!


Supplies:
Stamp Set - Stampin' Up! What I Love
Ink - CTMH Cranberry, Olive, Desert Sand
Cardstock - CTMH White Daisy
Scor-Tape


Thanks for looking. Stop by again :)


Saturday, May 21, 2016

Decoupage Sympathy Card


(click on photos to view larger images)

It's so very sad when you lose a friend, and for me sympathy cards are hard to make, especially when they are for a member of that person's family.... it just hits too close to home. But sometimes there is that need for these cards, and I find it more special to make them than to go buy one. 


I scored a couple lines down each side of this card. The center circle floral is a 3D decoupage element, and is mounted on metallic gold card. The outside floral frame is popped up from the gold layer.


Below is a better view of the layers.... each being 1/16" higher as it's built up.


The sentiments both on the front and inside are from Stampin' Up's Thoughts & Prayers set. I used CTMH ink in Olive.


Sunday, May 15, 2016

My Favorite Bokeh


(click on photos to view larger images)

I'm not sure if it's the colors I used on this card, or if it's because the bokeh technique turned out better (I get more practice each time) or if it's a little of both.... but this turned out to be my fave bokeh anniversary card so far! This one was for our DD and her hubby's first anniversary. 


I used my favorite sprays... Lindy's Stamp Gang's Starbursts... for the background. I just love their shimmery goodness! I added water to move the colors around and blend a bit. After letting it dry overnight, I added the bokeh "bubbles" using homemade circle punched templates in different sizes (and a finger dauber for the smallest dots) with CTMH white daisy pigment ink. The panel was just a bit too large for the front of the card, so I used it's trimmings on the inside with the sentiment.


The ribbons are from CTMH and retired.... I layered them, added the bow and called it done! I was thrilled that she loved the card :)


Monday, May 9, 2016

My BFF's Recycled Cards

Even though my BFF and I live in the same city, she sends me a few cards every year. I keep cards people send me for a very short time if they are store bought ones. I'll display them on the mantle for a week or two, then usually out they go!..... BUT...

(click on photos to view larger images)

If they are handmade - like the ones my BFF sends - then I keep and display them for a much longer period of time.... sometimes years!

When I run out of room, I have to make a decision about what to do with them. They are so special to me, that I can't bear to just throw them away, so I've decided to recycle them!

So I cut off the pretty decorated fronts and attach those to new card bases for a whole "new" card!! These are a few examples.

I just adore the one above using tone-on-tone Crumb Cake card stock and ink from Stampin' Up! Such a pretty flower stamp from that company as well, although I don't know what it's called. And the tiny butterflies with their bling bodies just completes the whole thing.


The one above was made from a card kit, with stickers and diecuts, that CTMH had years ago. I love the copper brads she added, and decided I could use it for a masculine card... nothing easier than that!


This last one she made me was a simple thank you card for an anniversary gift I gave her that included all the washi tapes she used on the card!

Since I'm so sentimental about her cards, now the test will be if I can actually mail them off to someone else, LOL!... Only time will tell....

Thanks for stopping by. Please come again :)


Related Posts Plugin for WordPress, Blogger...